# Lutron®
# Connecting to Lutron® Smart Bridge PRO
There are no files for this driver. Our Gateway can connect directly to a Lutron® Caesta Smart Bridge PRO, a QS Processor or a RA2 Processor
Create credentials in Lutron® system
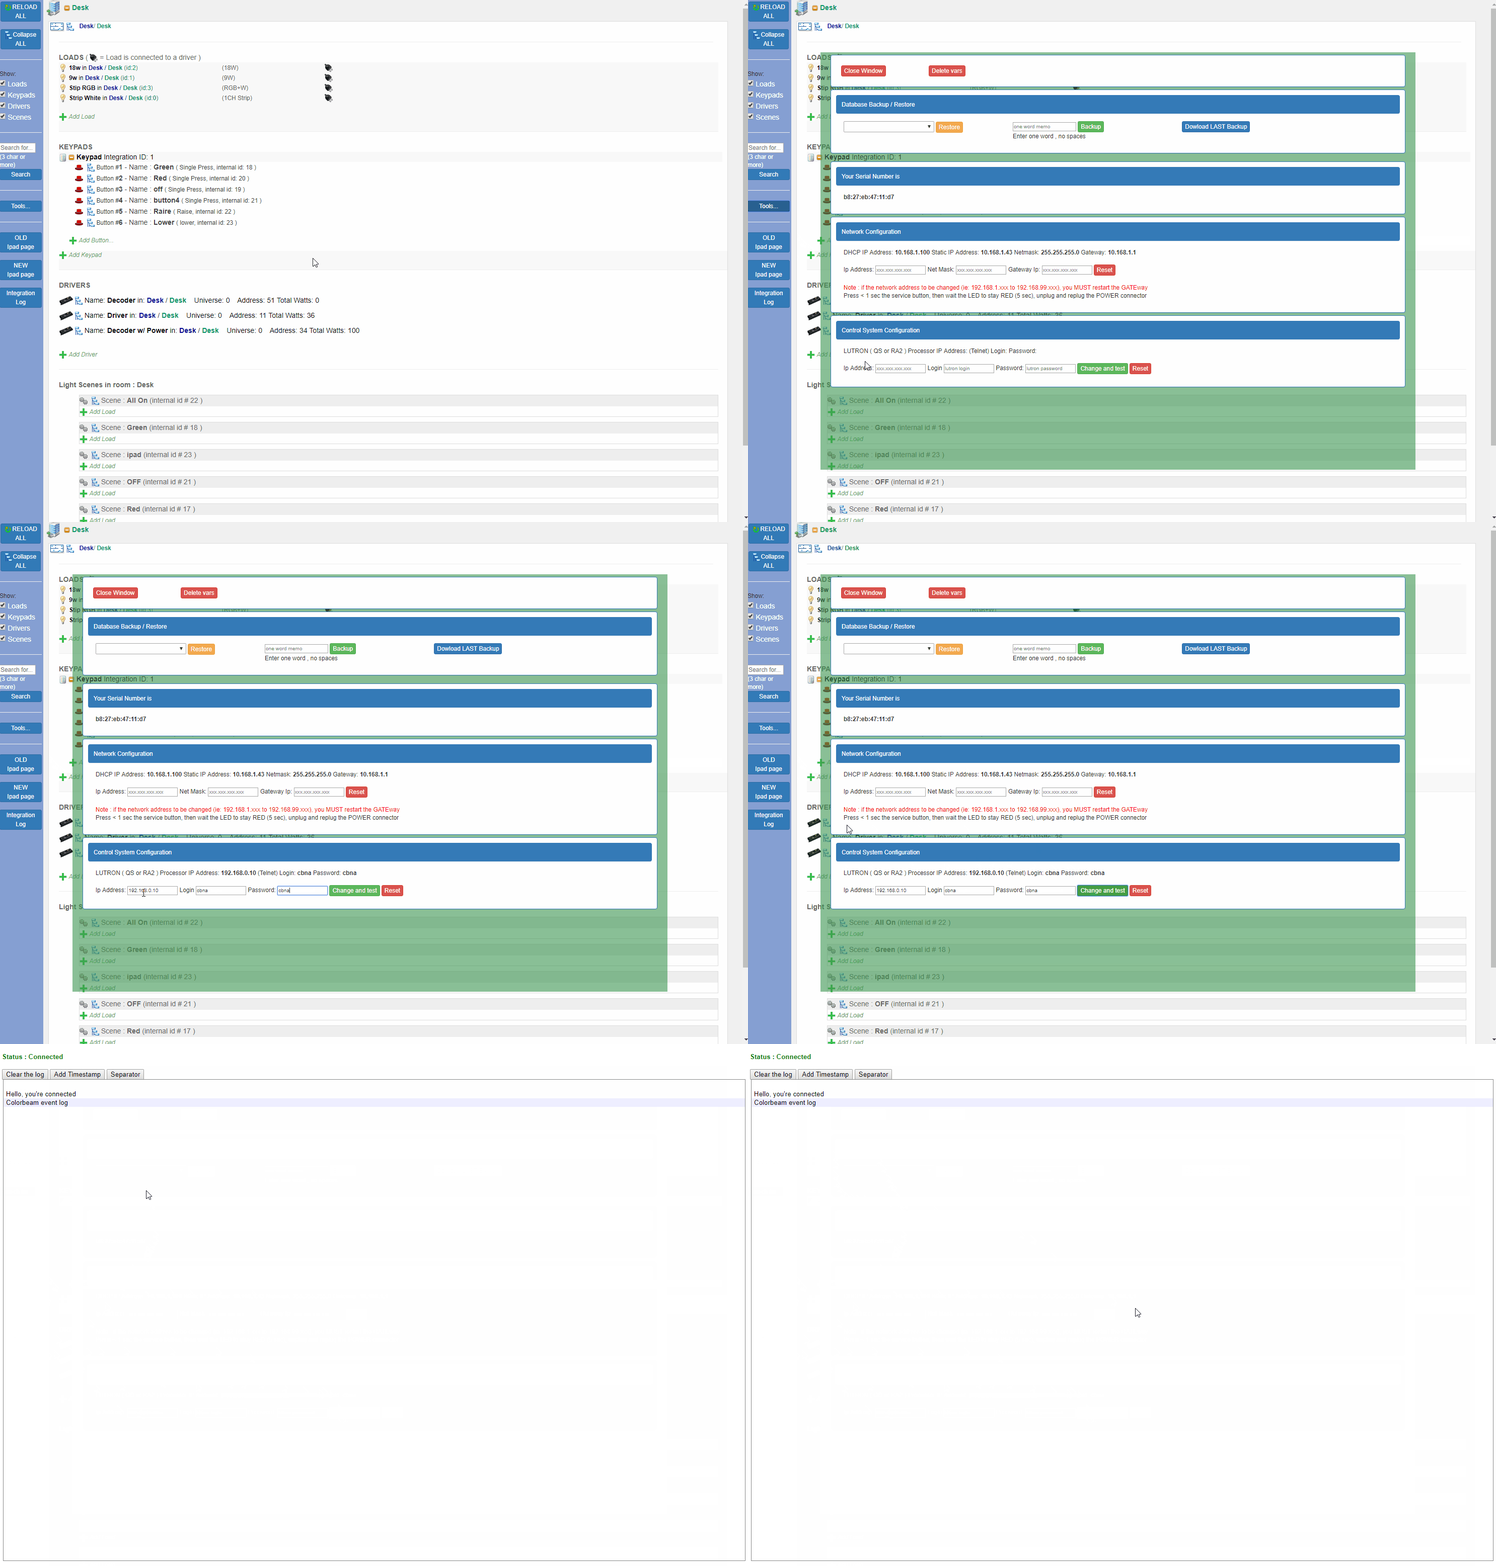
Then go to : Gateway Configuration page -> Tools -> Lutron® and enter ip, username & password for Lutron®

- Once the Gateway can properly connect to your Lutron® device, you will see a 'Lutron® heartbeat' and a 'connection successful' on the Gateway log page.
# Assigning button presses
Once the Gateway can connect to your Lutron® device, the Gateway will listen for key presses on the Lutron® system. When you press anyone of these buttons, the log will indicate a series of numbers, delimited by commas, to indicate which keypad and which button was pressed.
Example
~DEVICE 4,3,3
The first number represents the id of the Lutron® keypad and the second number represents the id of the button for the same keypad. Knowing these two numbers is all you need to assign a button from a Colorbeam virtual keypad to a Lutron® Keypad.
Let's reuse the example above. If the Lutron® log gives us '4,3,3' when you press a button on a Lutron® keypad, then the Colorbeam virtual keypad integration id needs to be '4' and one of it's buttons needs an id '3'. This will make it so every time that Lutron® button is pressed, the assigned Colorbeam button is also pressed.
Make sure the log your using has only 3 digits and not any other quantity. Lutron® integration ids must be greater or equal to 13, as per Lutron's® standard. We don't acknowledge keypads with id's less than 13.
